Showing posts with label Electrical Stuff. Show all posts

Tuesday, April 3, 2012

Switcheroo...Relocation of handlebar switches on 96 XL 1200


Not much to share in the way of how this was done.  Ignition switch, hi-lo beam toggle, starter button, some scrap aluminum angle, rewire, screw switches on, sit back have a cold one and enjoy.  

On a serious note though, I'm probably about to redo the whole thing and make it at least half this size with different switches and polish the aluminum.  Some times it takes a second swing, but I was ready to get this mofro on the road! That Spring weather and the smell of Wisteria put a rush on me. 

Sunday, April 1, 2012

Ignition Coil Relocation for 1996 XL 1200


Scored a motor mount for $10 from E-bay. Step 1 beat the horn bracket out flat.


Had to refuel after doing some other work like mounting my vise and making a small metal work station. My old one got commandeered when we moved a few months ago. 


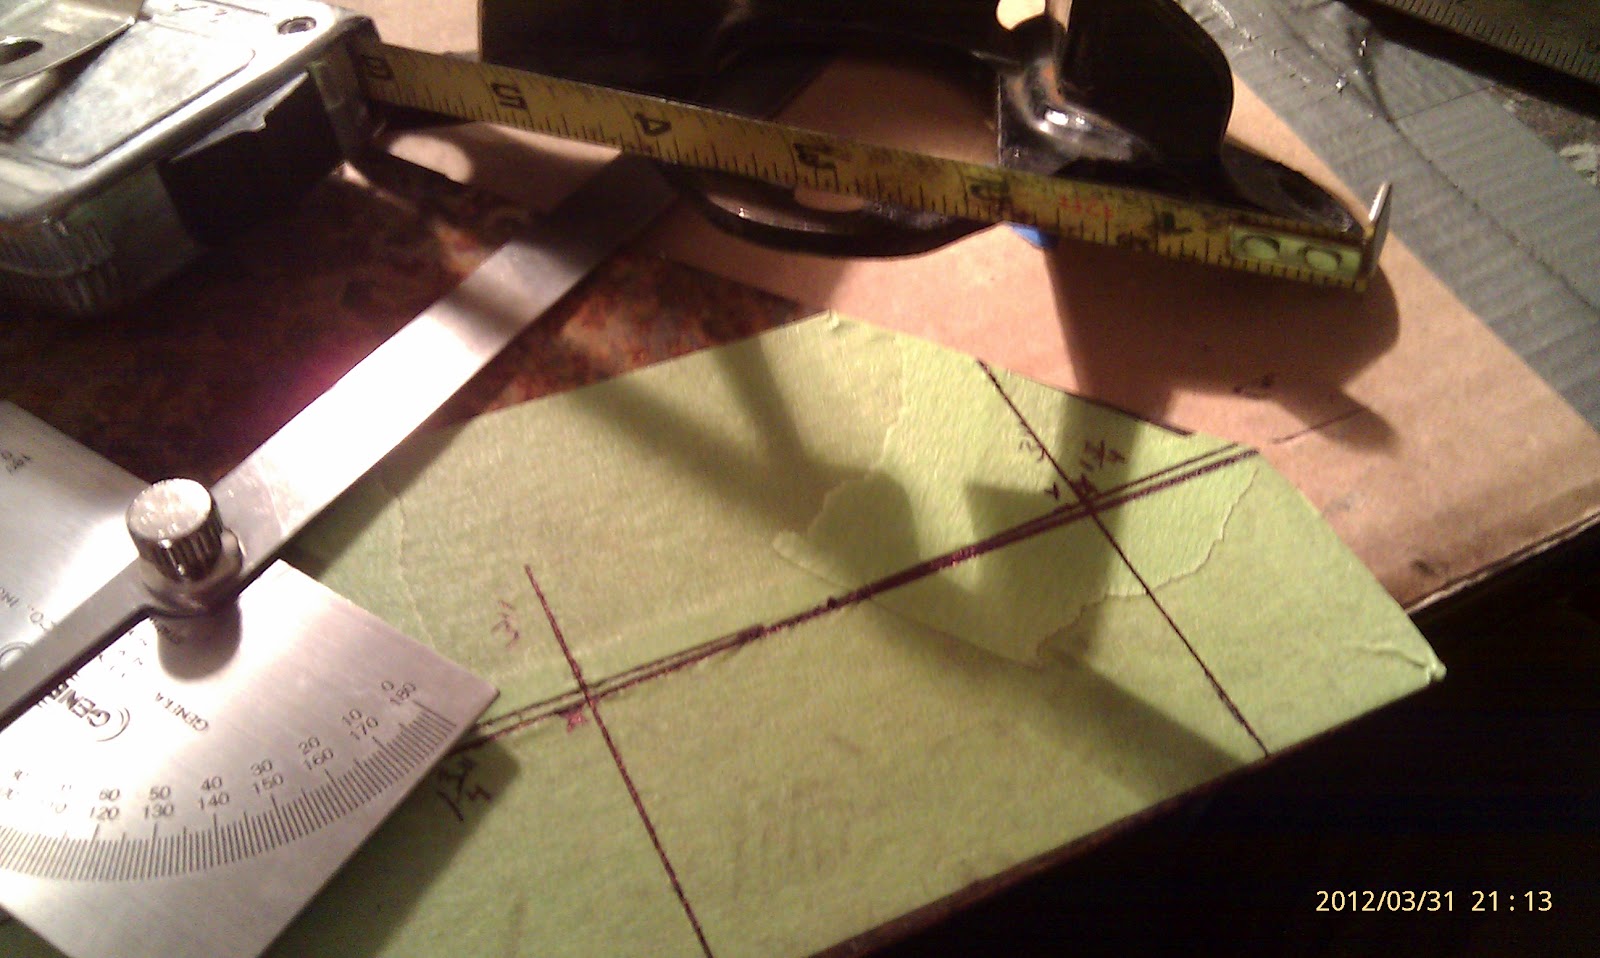
Measured it out.  Used the protractor to set 90 degree lines of the flat sides of the scrap metal to make sure everything was square.  Trust me, what looks like straight cuts on a piece of metal or wood to your eye may not be. If you use this method it will help you a lot in getting accurate measurements. 
Here I was just making a flat tab to be welded to the flattened horn mount.  The horn mount will be used as a source of stability and extra material to weld to and insure no roadside failures or breakages. 


Time for a little cutting wheel, grinder, and jig saw action. 


I'm going to tighten everything up some but wanted to have excess material to look at and then trim everything down before final welding.  Also, notice that I made another 90 bend that comes off of the top out of some thinner 16 ga. for added support on the top. This will be welded as well and the coil will slide into the slot and be bolted on.  


Here you can see the material from the horn mount that will be used as stability and welded to. 


This picture shows the thickness of the metal being used for the main support on the mount. It is similiar in thickness as the stock motor mount material.  It's approximately 12 ga. material. 


 For grins and giggles, I laid the chrome ignition coil cover over the top of the coil just to take a look. It was on there from the prior owner.  Depending on how it works out, I may use it or sell it.  After giving it a thought  though, it may actually add some extra mounting stability and I may use it for the function of it as opposed to the shininess that one could use as a mirror. 


Tuesday, March 13, 2012

It's Alive


Bike is back on the ground.  All I need to do is clean and tighten it up.  Might even have to pull the no front brake chopper fake just to see.  Hopefully gonna ride some in the next couple days and then on to a few more rabitts out of the bag and she'll be done for a little while.


Saturday, March 10, 2012

Wiring Almost Complete

There is only 9 wires running the length of that backbone right now and when it's all said and done there will be probably only be 4 there, and the other 5 will stop around the battery box. 


I think after I get all the remaining wiring heat shrunk and tidy'd up, I'm going to be really happy I did this.  Wiring a 1200 Sportster at this point doesn't seem as difficult to do as once thought.  My biggest suggestion would be stare at the diagram for a while until you can pretty much remember what color wires go where without having to look at it. 


My wife made me go inside at 1 a.m. again last night because I had to be at work again at 8 a.m. on a Saturday, no less.  (These 6 day weeks are getting old, but there almost over.)  At some point after lunch today I will know if I got everything in perfect order and the old gal will come rumblin' back to life.


Another suggestion would be to find a good diagram.  This one was in the o.k. range.

Friday, March 9, 2012

Getting Closer to having the XL 1200 wired


Finally started getting everything sorted out.  I have all the crap I need under the clip.


All the crap I didn't need I draped on the other side of the bike.  I didn't take any pictures of the where I ended last night, but I finally did get around to cleaning up some of the mess of what I actually need to make it go and shine light front and rear, and started heat shrinking.  


I've got my diagram clipped to the side of the fender strut in the back to make sure I don't get my wires crossed.  

Tuesday, March 6, 2012

Hittin' Switches on 96 XL 1200


Did a little composition.  Doing shit by hand takes time, that's for sure.


Gonna use a little 1/4" Aluminum scrap to fabricate the mount.


Popsicle Mirrors, Ha! I finally found a use for them.  I think I'll keep them though, may hang one off the side of my helmet or something like the real bikers do.  Just kidding.  They are MoCo mirrors though which is cool.

Tools and required accessories for late night customization.  


And well maybe this is somewhere along the lines of what might happen.  At first it started as an idea of making an aluminum bracket to mount a hi-lo beam switch somewhere easy to reach and slip under the chrome cover for the top trees.  Then I thought maybe I just may look for a smaller marine grade momentary key switch than what is shown and put them both up there.  This would just leave fabricating the coil mount left to do for now and cleaning the wiring up with solder and heat shrink.  

Any ideas or feedback on this little idea is welcome.  I'll keep 'ya posted.