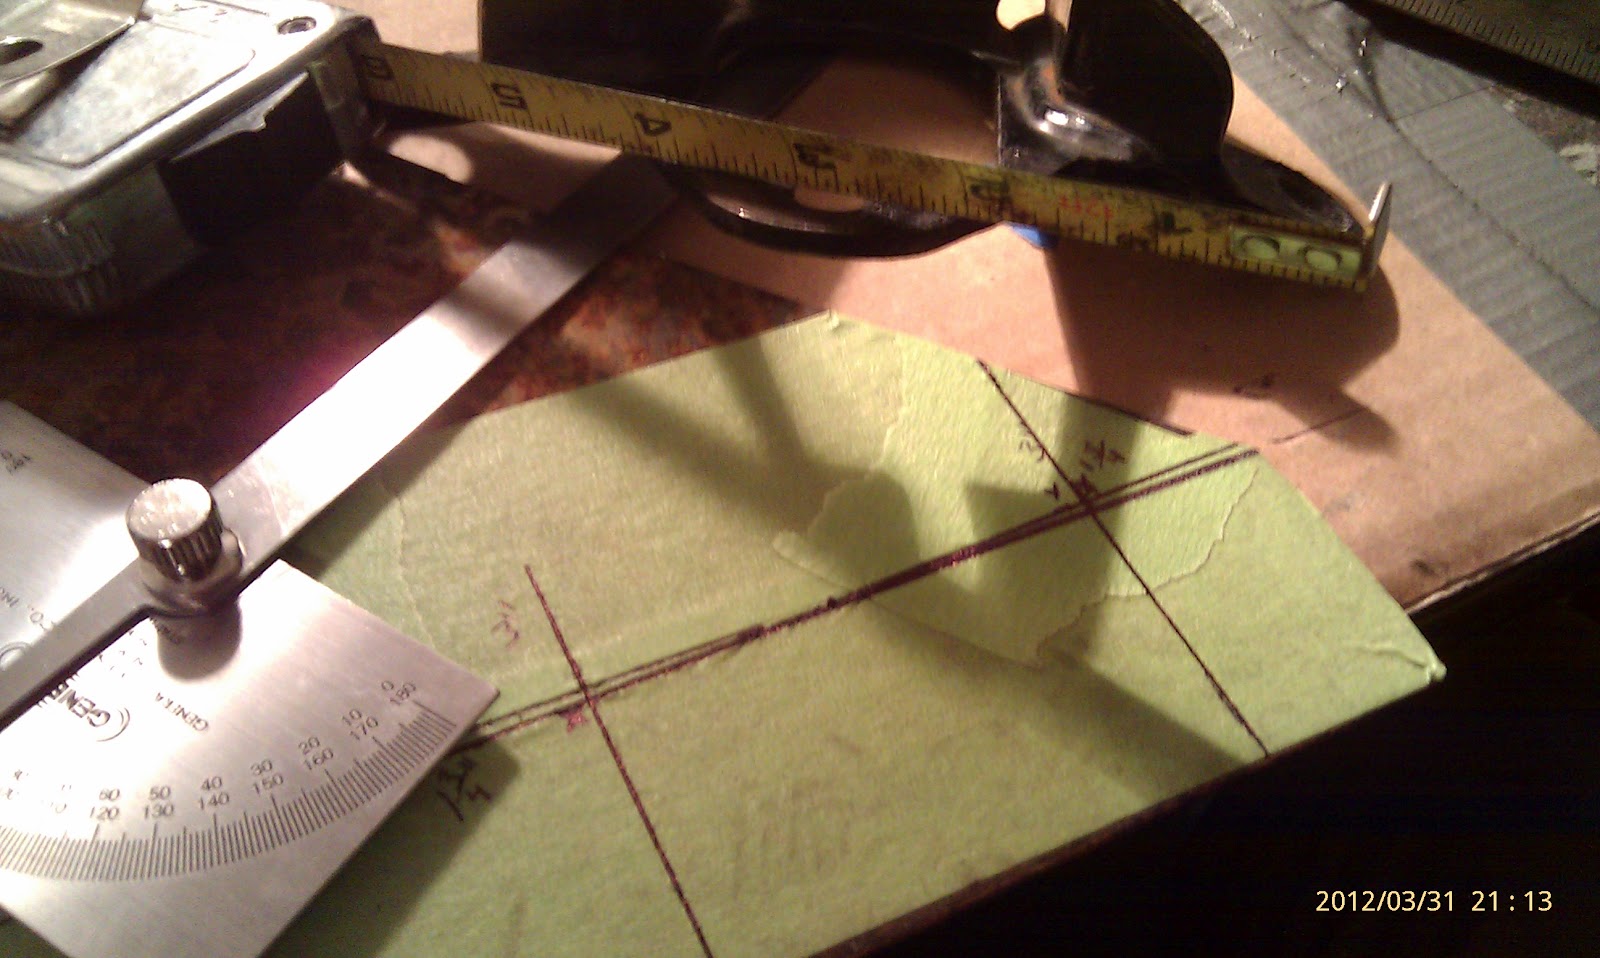
Scored a motor mount for $10 from E-bay. Step 1 beat the horn bracket out flat.
Had to refuel after doing some other work like mounting my vise and making a small metal work station. My old one got commandeered when we moved a few months ago.
Measured it out. Used the protractor to set 90 degree lines of the flat sides of the scrap metal to make sure everything was square. Trust me, what looks like straight cuts on a piece of metal or wood to your eye may not be. If you use this method it will help you a lot in getting accurate measurements.
Here I was just making a flat tab to be welded to the flattened horn mount. The horn mount will be used as a source of stability and extra material to weld to and insure no roadside failures or breakages.
Time for a little cutting wheel, grinder, and jig saw action.
I'm going to tighten everything up some but wanted to have excess material to look at and then trim everything down before final welding. Also, notice that I made another 90 bend that comes off of the top out of some thinner 16 ga. for added support on the top. This will be welded as well and the coil will slide into the slot and be bolted on.
Here you can see the material from the horn mount that will be used as stability and welded to.
This picture shows the thickness of the metal being used for the main support on the mount. It is similiar in thickness as the stock motor mount material. It's approximately 12 ga. material.
For grins and giggles, I laid the chrome ignition coil cover over the top of the coil just to take a look. It was on there from the prior owner. Depending on how it works out, I may use it or sell it. After giving it a thought though, it may actually add some extra mounting stability and I may use it for the function of it as opposed to the shininess that one could use as a mirror.